How a few friends process black and white differently....
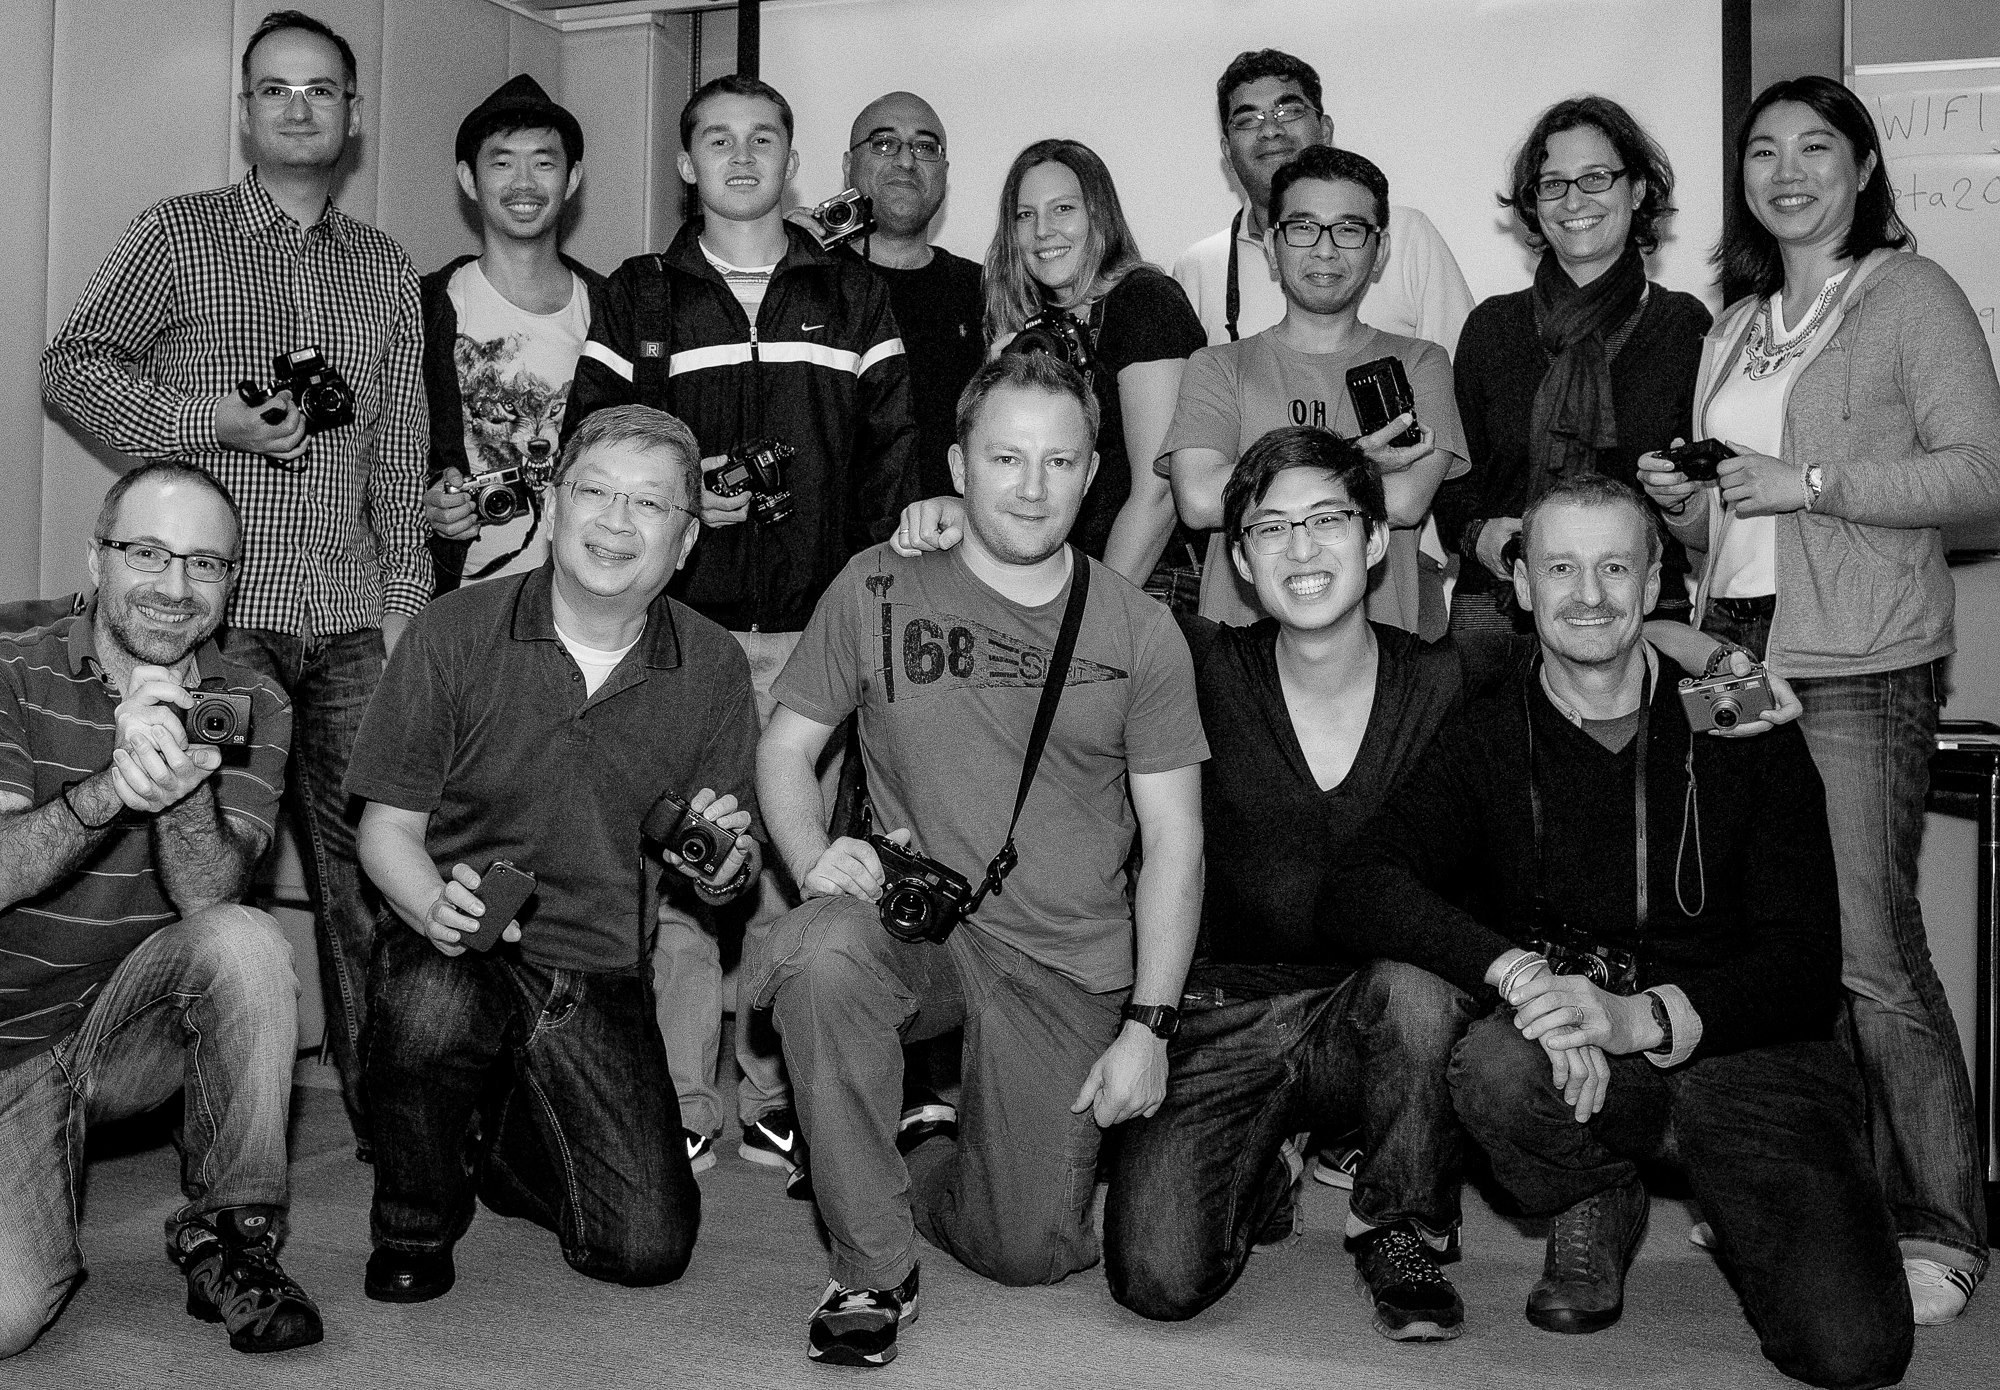
/I manage a facebook group of street photographers (linked here) which has grown rapidly over the last few months and we now have around 350 members....we share our work and discuss many things there including how and why we process using different softwares. This led us to an idea to send a few RAW files to a few different photographers in the group to see how they processed the same RAW file using different software.
Please bear in mind when reading this that its not a black and white 'must do' process at all - this was simply a fun exercise to see how different photographers would process the same image....and these are not my own methods for converting images, as stated they are a few friends.
I picked two very different images that I shot a few days ago, one was a portrait in the street of an Indonesian woman wearing a Burka, and the other image of some local guys playing Chinese Chess in a park in Kowloon.
I asked each photographer to annotate what they did, and return the files to me...these were their results, which of course will all be different, but its just an interesting exercise to see which software does what...and how the photographers got to their end results. I'll make my comments on them underneath each set of images and do some comparisons....I also intend to do an upcoming blog post on my own black and white work flow which may yet change after I take a good look at these images below:
Let's start with Rocco's conversions and his process is explained in his own words below:
1. Rocco's conversions - Alien Skin Exposure 4
For both pictures, Rocco used Alien Skin Exposure 4.

(Edited by Rocco in Alien Skin Exposure 4 - Original image shot by F8 Photography on Olympus OMD)
YOU CAN DOWNLOAD HI-RES VERSION HERE:
For the first image of the woman I started off by scrolling through the B&W film presets available in Exposure 4. I limited myself to films with ISO of 100 or less, which in this case left me with a handful of options including a couple of Agfa, Fuji and Kodak presets, and a single Ilford preset. ISO ranges went from 25-100. I wanted to make sure that the face of the subject retained contrast against the veil and background. However, only the Kodak T-MAX 100 preset allowed me to have a good amount of contrast whilst still retaining detail on the face, and not adding an excessive amount of grain to the process. All the other presets made the washed out the color of the face to the point that it was too white for my taste.
I did some additional adjustments to increase the sharpness of the area around the eyes, so as to have a stark expression, and bring the right eye more into focus. I also added a small amount of vignetting to isolate the face slightly more and bring it forward from the background.

(Edited by Rocco in Alien Skin Exposure 4 - Original image shot by F8 Photography on Olympus OMD)
DOWNLOAD A HI-RES VERSION OF THIS EDIT HERE
For the 2nd image of the Chinese Chess players, this is more of a street scene, and due to the fact that in my view Hong Kong street pictures should look weathered and grainy, I started the process by selecting a higher ISO film preset (in this case Kodak TRI-X 400). This preset provides a good starting point with a fair amount of contrast and grain that gives street images a weathered, 60s-70s photojournalism look. This was an easier process for me as I tend to degrade the street photography images more than normal as I think this adds character to the image. I tweaked the preset further by adding more grain (TRI-X 25% Salt & Pepper), and by enhancing the vignetting as well to help guide attention to the mahjong player facing the camera. Overall, I envision most of my street pictures this way, especially in Hong Kong, where a picture taken today can easily be mistaken for a picture taken 30-40yrs ago. It is very difficult to tell old from new in Hong Kong, and old pictures have great character.
F8 COMMENTS ON ABOVE PROCESS: My intial views on Roccos conversions are that I really like the conversion of both images, and I think Alien Skin Exposure 4 software is a great plugin as its simple to use and has gotten some clean results, from all the samples here I think the skin tone is most pleasing on the portrait with this conversion.
2. Jason's conversions - Capture One Pro
Next up was Jason, he used Capture One Pro software and went for some slightly different looks with the same RAW files:

(Image edited by Jason is Capture One Pro) DOWNLOAD A HI-RES VERSION HERE
For both images I processed them in Capture One Pro. I adjusted levels, black point set to 40, purple fringing on and analyzed for chromatic aberration (This is a pretty standard set for me. I also set shadow and highlight sliders but no need for this here). I then process to tiff in 16 bit mode.
Then in Photoshop I added a b&w layer for each image.
For the image of the girl I toned it a sepia tone on the b&w layer. I also adjusted the color sliders for contrast and separation of tones. Then added a curve layer for contrast. I used a layer mask on the curve level to dodge her left eye slightly (using the brush tool to erase away the curve). Then I flattened the image. I then applied unsharp mask to it with the following settings. Amount 90, threshold set to 0 and radius set to 1.2. Then I converted it to 8 bit mode.
For the guys playing chess, everything was the same steps as previous image except I dodged the eyes of the man facing camera and the hair of the man who is in the lower left frame. I toned it to look selenium. I set the unsharp mask as follows. Amount 130, radius set to 1.2 and threshold set to 0.

(Image edited by Jason is Capture One Pro) DOWNLOAD A HI-RES VERSION HERE
F8 COMMENTS ON ABOVE PROCESS: This one for me is interesting for a few reasons - firstly, Jason is the most advanced photographer amongst this group, and an experienced photoshop user, therefore I think he is using the most complex route to get to his results - however, apart from the sharpness that makes the images pop, I am not a big fan of sepia and selenium toned images. However, its very interesting to see how different photographers envision the same image and make completely different conversions.
3. Stephen's conversion - Lightroom & Silver Efex Pro 2

(Image conversion by Stephen using Niksoft Silver Efex Pro 2 and Lightroom. (DOWNLOAD HI-RES VERSION HERE)
To me this image is all about the face and eyes (duh) so that's what I went for...
- Export to Niksoft Silver Efex Pro 2.
- Reduce overall Brightness -62%, Contrast -50%, Structure -62%. This gives me the background I want.
- Add back control point to the face and eyes, adding brightness and some structure (mainly eyes and eyebrows)
- Export to LR4.2
I find I often end up "tweaking" images in LR again to achieve the balance I want. This is a disadvantage of SEP2, not being able to go back and re-edit.
In LR adjust Contrast +24, Whites +24 and Blacks -28. Also I used the spot removal tool to take away some dust spots from the headscarf.
F8 COMMENTS ON ABOVE CONVERSION: Stephen has used a similar route to what I mainly use - Lightroom and Silver Efex....interesting how he has gone for a much darker overall feel than the others, particularly on the Burka she is wearing....For me that loses the background top right of frame which I preferred in the original shot, although I can see exactly why he has done this to create as much contrast with the face as possible, so an interesting route to edit.
4. Ahmed's conversions - Apple Aperture
Generally, I start editing by applying the auto adjustment (in color) in Aperture on my imported images. This is always the base from which I start since I shoot RAW with the most neutral picture style. This means all sliders (saturation, sharpening, contrast ...etc) on my camera are set to zero.
I fine tune the white balance and white and black point if necessary. For B&W conversion, I use the 'B&W' panel in Aperture instead of de-saturating. This turns the image into a "neutral" B&W. Then, I play with the overall contrast using the tone curves ('Curves' panel in Aperture), picking up the tones I want to darken or lighten in the image. This sets the global contrast. Enclosed is the resulting curve for the girl's portrait (curve_girl.jpeg).


(Conversion by Ahmen in Apple Aperture - DOWNLOAD HIRES VERSION HERE)

(Conversion by Ahmen in Apple Aperture - DOWNLOAD HIRES VERSION HERE)
Next step is to act on individual colors present in the image ('Color' panel in Aperture). For example in the image of the girl, I lightened the red present in the veil and did so with the blue present in the eye to make the look more sparkling. I lightened the yellow present on her face as well. I tried to give the orange top of the man in the second picture a better looking but I am not satisfied with the outcome.
Finally, I may do local contrast adjustment as I did for the face of the man and the right eye of the girl (Local definition slider with a brush in Aperture). The latter was also sharpened a bit. I usually sharpen only locally (using 'Edge Sharpen' in Aperture).
F8'S COMMENTS ON ABOVE CONVERSION: Ahmed has used only Apple Aperture and has basically achieved strong results all round for my tastes. I like the conversion of the woman overall, and good to see people using different colour channel mixers with black and white images to separate tones.
F8's THOUGHTS ON ALL OF THE ABOVE
So my comments are above under each set of images that give an outline of my views....I think the underlying message here is that there are many many ways to get from A to B when converting an image...and its clearly about personal preference....I don't think there is any right or wrong way to do it, its all subjective anyway....so what can we learn from this exercise?
Something I have learned is that the way I do this myself is for sure a little different to all of these guys above - but maybe I can try an incorporate one or two techniques from each of them to help me further develop my own styles. In the past I've heard photographers go on about Silver Efex Pro a lot (and I use it extensively also) - but now I am not so convinced that its the best way...for sure its one of the quickest way and that works for a lot of people....I want to take another look at Exposure 4 now as Roccos conversion is my favourite here due to the way he has chose to tone it (not so harsh as I would have done myself actually, but looking at it, I prefer that now, especially how he has managed to maintain all the details in the Burka very well).
I hope this can be a useful insight, I will do a blog post with video on how I do my own conversions, mainly just using Lightroom 4 and presets which some may find useful, thats coming shortly on the blog.
Our street photographers group on Facebook is flourishing, feel free to come and join the fun and meet the guys who did these conversions, click here to visit the group, and feel free to share the link to anyone in the world you know who's interested ins shooting on the streets and wants to become part of an active community.
Thanks for taking the time to visit our blog, if you like our blog and website, please ‘like’ us on our public Facebook page or on the ‘LIKE’ box to the right side of this blog. You can share this story with your friends with the Facebook and twitter links below or on the left side of this blog. You can also subscribe to our blog via the RSS link below or on the right of this post OR by clicking this link.
F8 Photography provides commercial photography and photography and video training workshops, more details can be found via the ‘courses and workshops’ link and upcoming events via the front page of our website.